
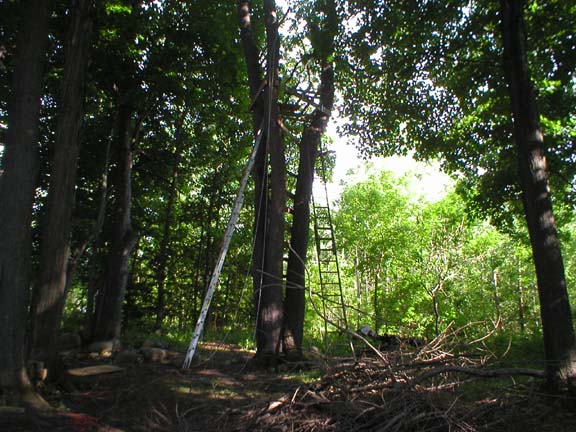
The very first step was to climb the tree to the height that would be necessary for me to get two pieces of plywood in for a floor, and have the trees spaced enough apart so the suppoer would be there. I measured the diameter of each trunk, in inches, and then the distance between in trunk. On a piece of paper I then drew the three circles, converting to millimeters, and placed them the correct distance from each other so that I had the correct triangle. I then drew a few 96 millimeter lines (representing 8' 2x6s) to figure out how the framework would look. I started with a triangle frame, then picked a direction for crossbeams to make an 8' x 8 square, then did another set of crossbeams to ensure support. The fourth picture down shows it the best.
Being so high, safety was of the utmost importance. The trees are about 15" diameter, and I used 8" lag bolts! This was overkill (since I couldn't even get the bolts all the way in), but I've had over 1000 lbs of humans in it without any worries!
The most important part of this construction was the order. The order was crucial because I needed flat floor space up top so that I could lay plywood down and trim with my jigsaw so that they would fit around the trees. Notice how the walls look like they go through each trunk! Same with the roof and floor pieces. Therefore, even the roof had to be fit to shape before the last wall (with the large window) was hoisted up.
A pulley with a clamp ran a close second. You can see the pulley cord in many of the pictures. Also, an electric cord is visible, and that was left there. I kept many power tools up the treehouse until construction was complete. There is now a lamp inside. My daughter Amber and her friend Jamie were the first to sleep inside, Labor Day weekend.
The two small panels along the last 1/3 of each side were done first, and put in place. They were done so that when the rear wall was complete (the only piece to be framed on the ground and hoisted up by three people) it slid right into place. It was important to have the footers and side frame piece of the side measured correctly so that the rear wall would fit snug and get connected in multiple directions. This treehouse is strong enough so that you can body check the walls repeatedly and it won't budge! :-)
Next, the front 2/3 of each side wall were completed, then the roof, and then the front.
Plywood being four feet wide, I decided it would be easiest to use the plywood on its side. I could fit the bottom in, and then work on the top. The top piece was a piece of plywood cut 4" off center. I used the 1'8" piece as the top half of the back and then the remaining 2'4" piece as the top of the front. The tops of the sides had to be angled appropriately, but for the most part, the same concept was used: Cut the plywood (lengthwise) at an angle from your 2'4" mark to your 1'8" mark, and you have the two top halves!
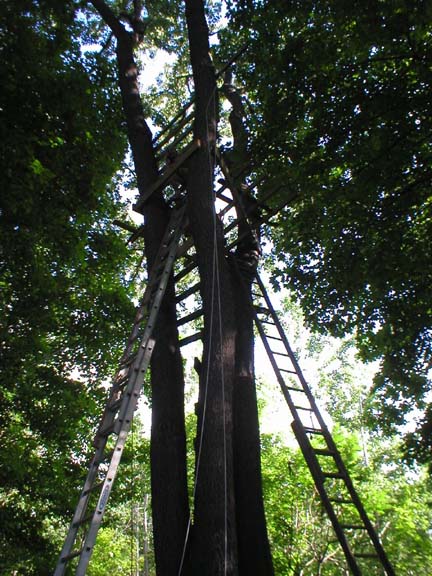
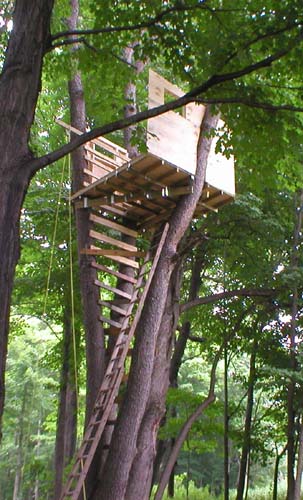
The first three pictures are of the framework for the floor, which took awhile, but it's all level! Eight inch lag bolts hold the frame to the tree. This is the summer of 2004.
Those are 24 foot ladders - not long enough.
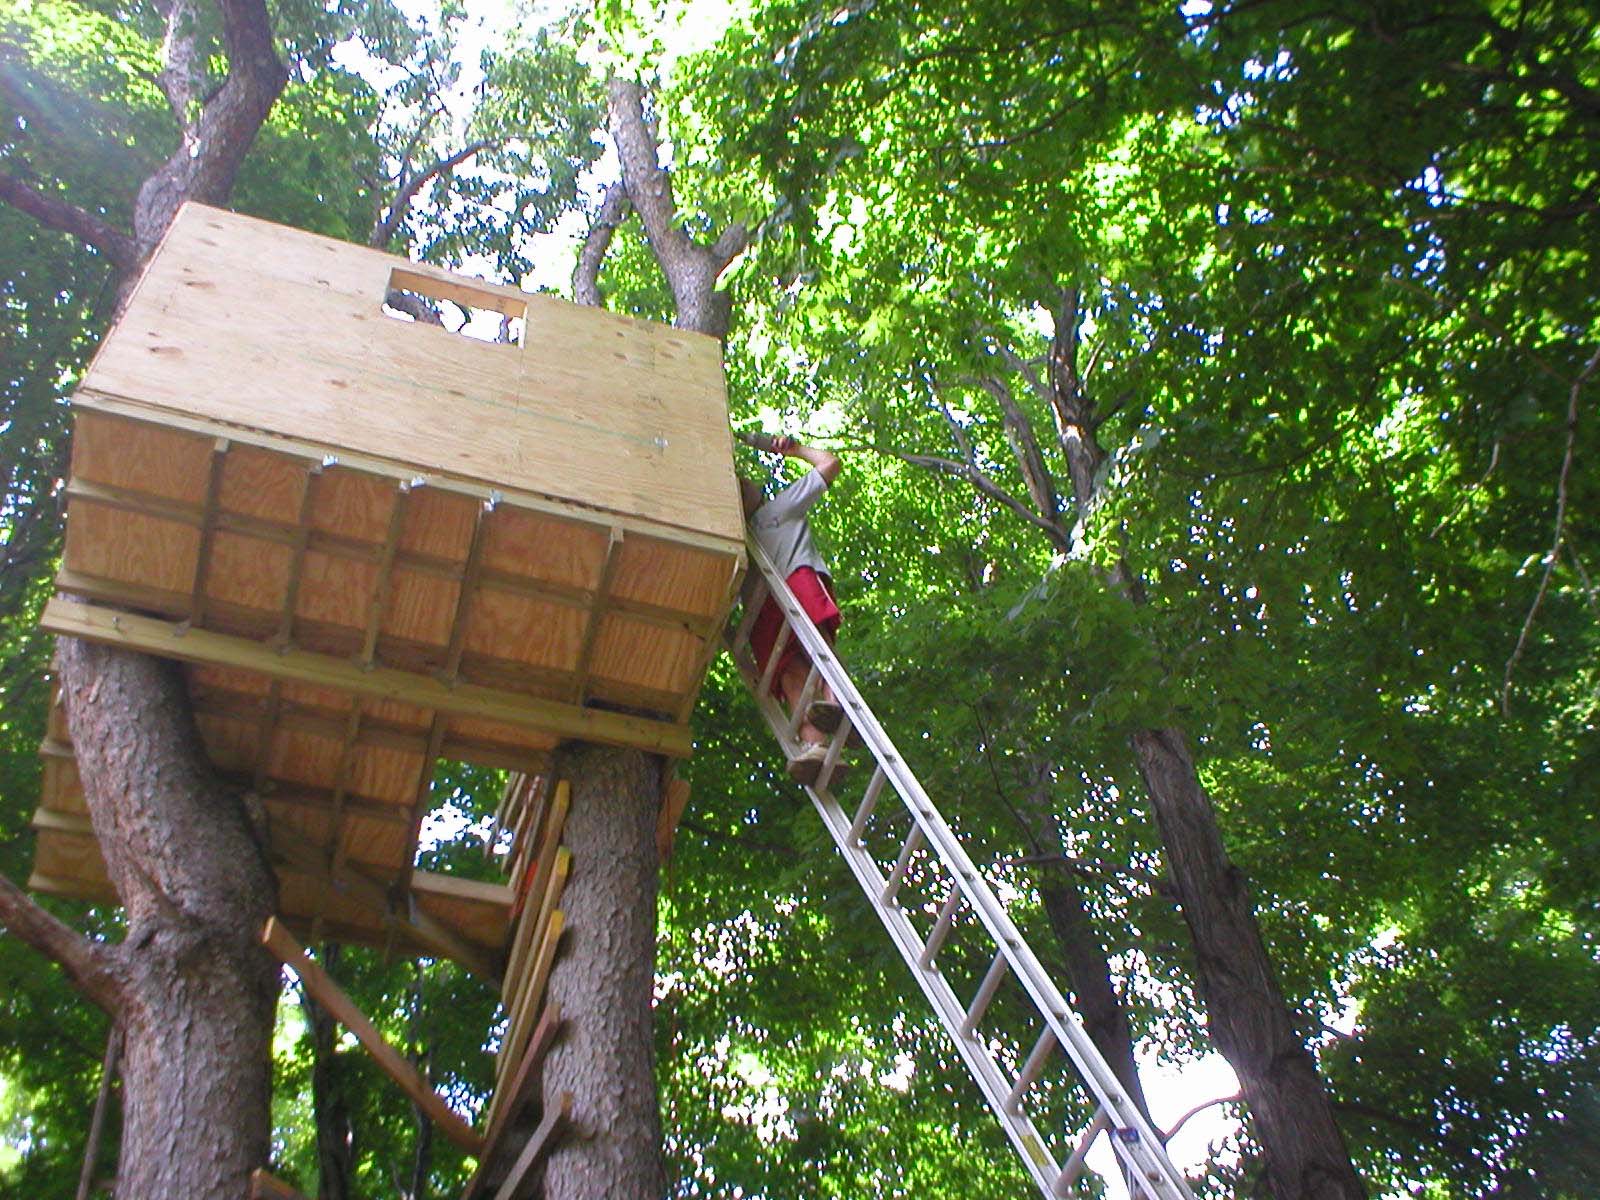
Here I am attaching a piece of the side wall to the rear wall, standing on a 28 foot ladder.
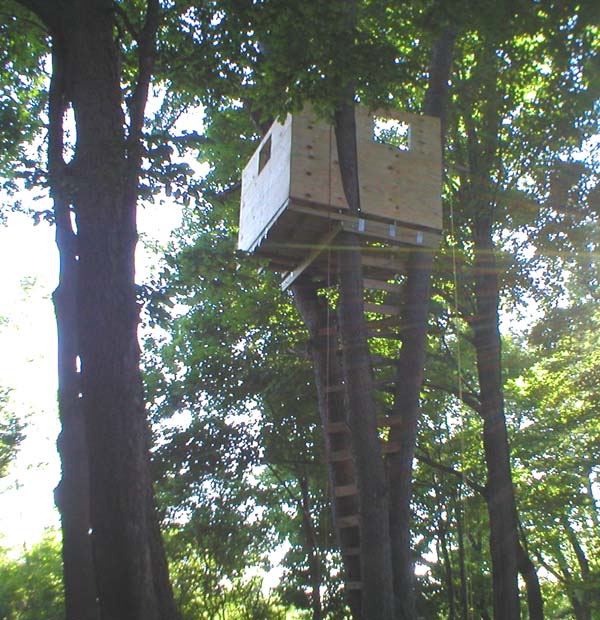
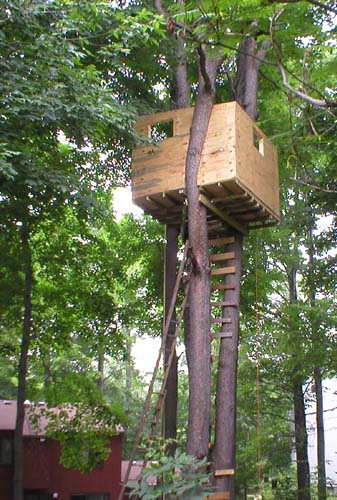
Below, the second wall is done, July 3rd, 2004. The rear wall is to the left.
Below, the third wall is complete!
Photo on the left is the third wall. Photo on the right is the third wall, with the rear wall to the right.
We've got the roof cut to fit around the trees. We'll add support beams later, after the last wall is put in.
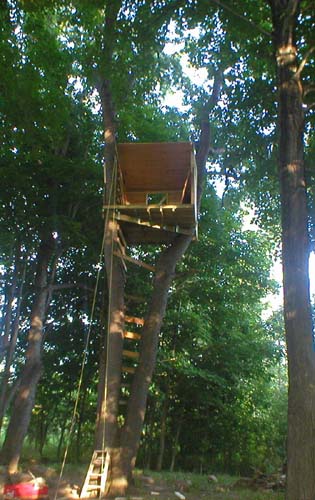
Whew! The two pictures below are after the last wall was put up, ceiling beams were put in place, four windows put on (plexiglass), the skylight put in place (as seen in the picture on the right), and insulating foam and caulk was used. Almost done!!!
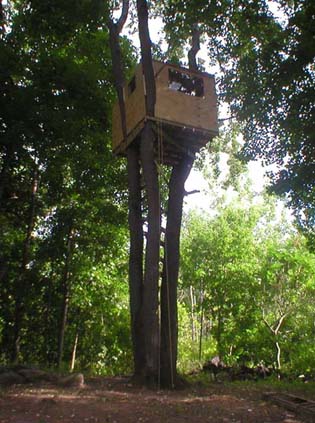
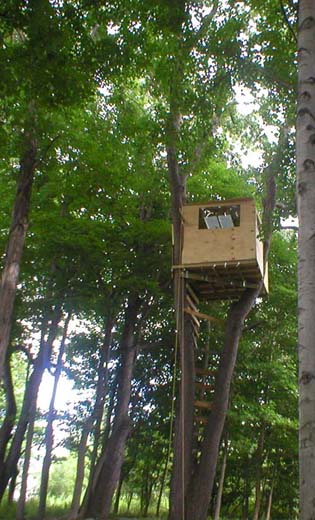
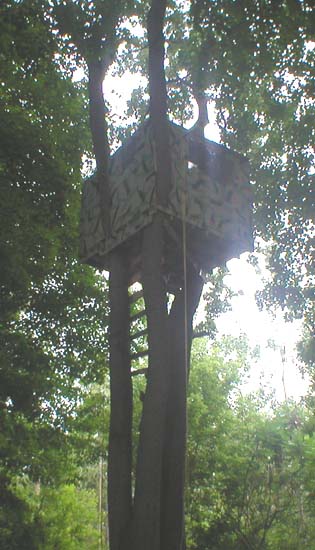
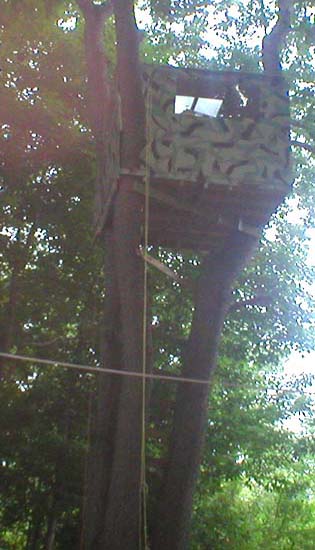
Getting so close! Below are some shots with the camouflage paint job almost complete. I leaned out each window as best as possible with a brush, and then sat on the roof with an extension pole and roller base, with a paintbrush tied to the roller base to give me a 90 degree turn so that I could paint these brush marks. It blends in very well in the evening - almost invisible.
Forget the shingles. It would leave gaps for rain to get in. No, I won't use roof tar to kep in in place because it must be removable! I need access to the roof to sweep off the leaves and cherries that drop on top. Yes, this is a cherry tree. So, I used tar paper, and the plexiglass slides under the front and sides of the tar-paper around the hole, and sits on top at the rear.
As with any large project, when you're done, there's a void. "I'm done. Now what?" Do I stop here?
Well.....
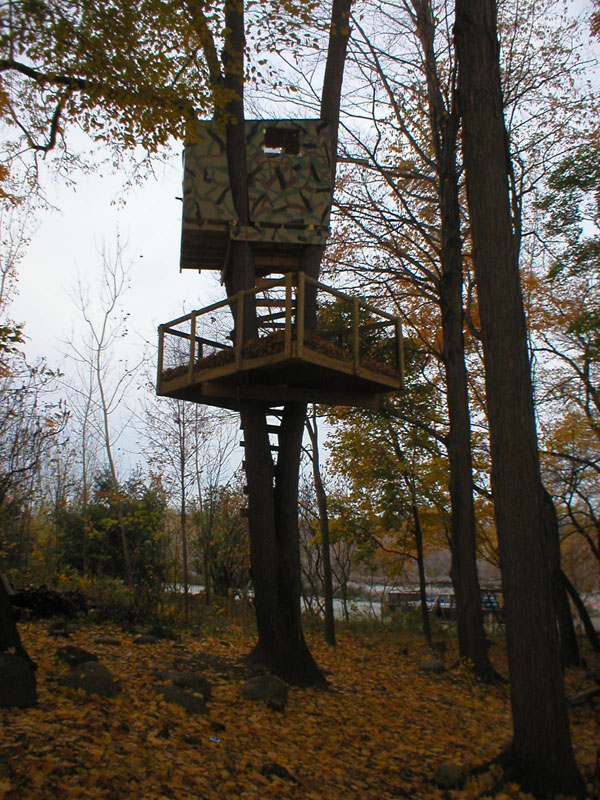
.... I couldn't stop, so I built a deck!
Rather than use deck planking, I used 2"x8" planks. These were stronger since my framework isn't square. It's kind of hard to tell in the picture, but there is one long piece of cargo netting wrapped all the way around. It measures 3' x 42', and is within the bolts securing the top railing as well as hundreds of staples along the top railing, bottom framework, and the vertical supports. I'm not sure how much it holds, but there were at least a dozen 12 year old boys up there at my 2004 Halloween party. :-)
Now I'm done!